The cup your customer holds is the closest your brand ever gets to their hands. Before they taste the drink, before they read your menu, before they form any opinion about your business, they see and feel the cup. In a global plastic cups market valued at $14.75 billion and projected to reach $32.74 billion by 2034 (Research and Markets, 2025), design has become the primary differentiator between a cup that gets photographed and shared and one that gets thrown away without a second thought.
This guide walks you through every layer of plastic cup design, from choosing the right cup type to executing a custom production run. The goal: decisions you can make with confidence, whether you’re launching a bubble tea brand, refreshing a café’s look, or sourcing cups for a national chain.
Types of Plastic Cups and What They Mean for Your Design
Before diving into colors, prints, or trends, you need to settle the most foundational design decision: the cup’s shape. The silhouette of your cup does more than hold liquid. It sends an instant visual signal about what kind of brand you are. As you evaluate the four main types below, measure each against three criteria: visual distinctiveness (does the shape itself differentiate you?), functional fit (does it work for your specific beverages and service model?), and cost accessibility (can your volume and budget support it?).
U-Shape Cups — The Bubble Tea Industry Standard
Walk into any bubble tea shop from Taipei to London and you’ll see the U-shape cup: rounded bottom, slightly tapered body, wide mouth. This design didn’t become the industry default by accident. It solves multiple problems at once.
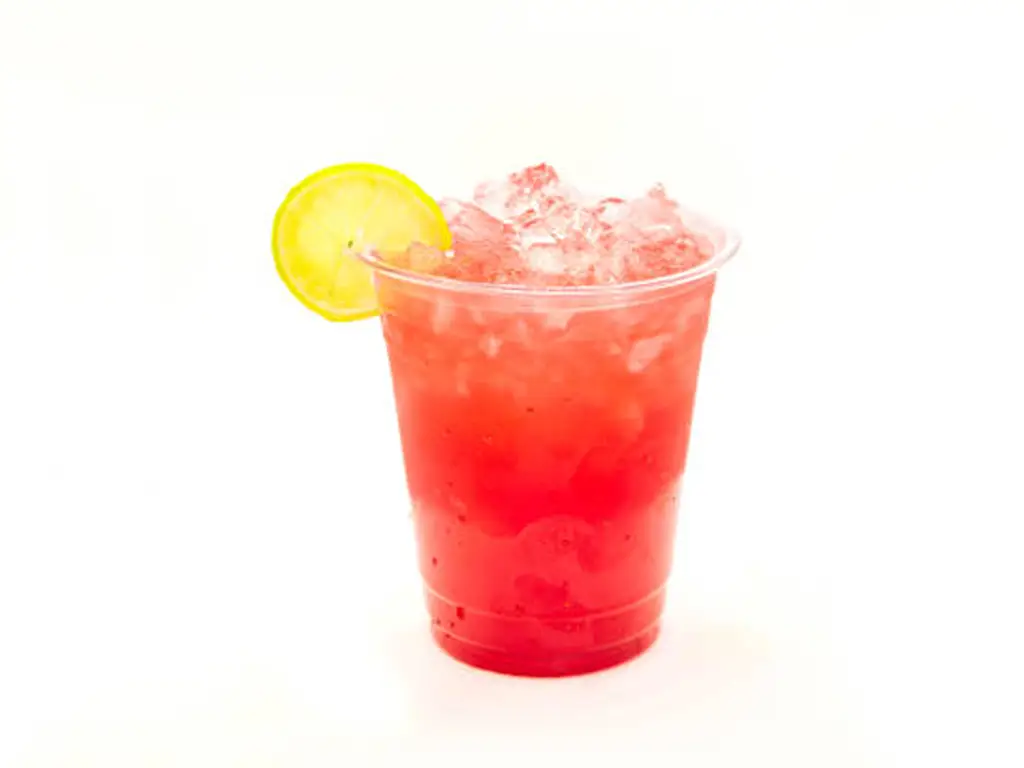
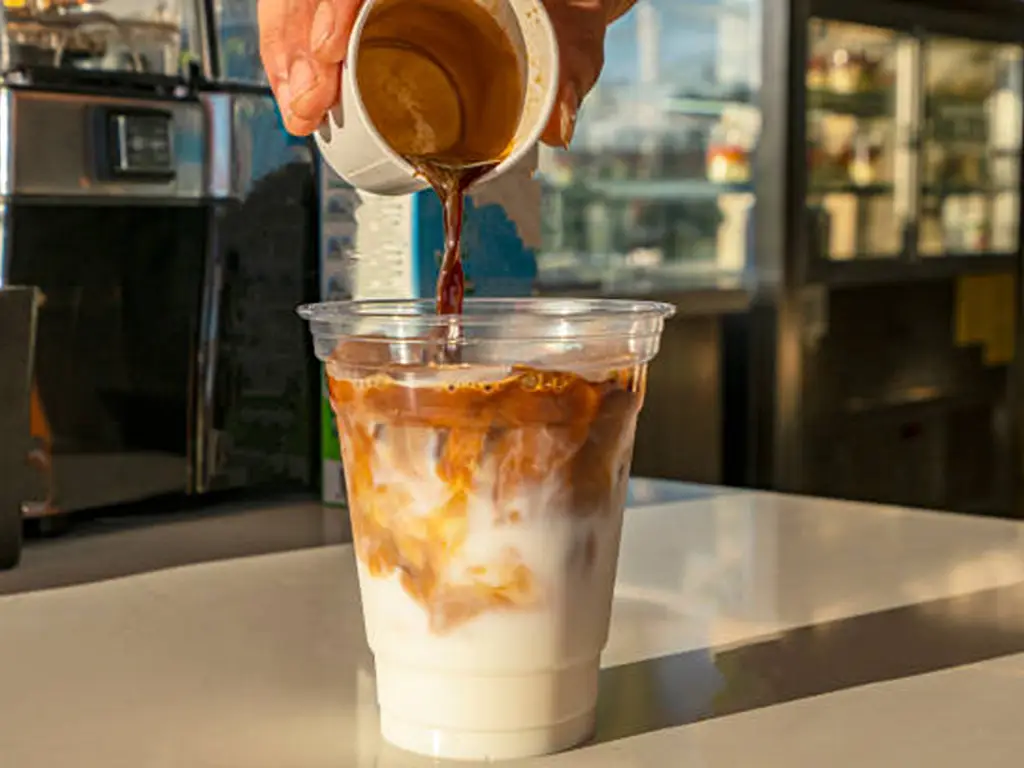
The rounded base creates a generous volume footprint (typically 300ml to 700ml) while keeping the cup stable on counters. The 89–98mm rim diameter accepts both flat lids for delivery and domed lids that give tapioca pearls and toppings room to move. Most importantly, the crystal-clear PET material, with over 90% light transmittance, turns every layered drink into a visual product. A taro milk tea with its purple-to-white gradient, a mango fruit tea with visible pulp. These aren’t just drinks, they’re content for your customer’s Instagram story.
The U-shape’s 5–8° taper angle also serves a practical purpose: it allows efficient stacking during storage and service without cups jamming together, which reduces waste and speeds up busy counter operations.
Can Cups — The Premium Café Favorite
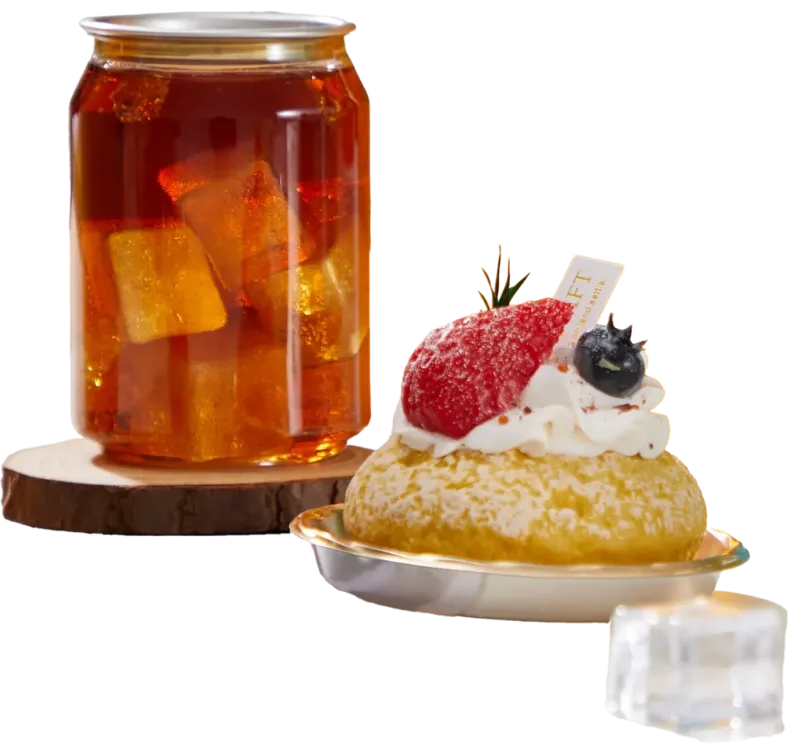
If the U-shape cup is the friendly extrovert of cup design, the can cup is its sophisticated cousin. Modeled after aluminum beverage cans but executed in high-grammage PET, these cups carry a physical presence that standard disposable cups cannot match.
The difference is in the weight. A typical disposable PET cup runs 8 to 12 grams; a can cup weighs 18 to 28 grams. That extra material translates directly into rigidity: no flex when you grab it, no condensation-induced softening, a satisfyingly solid hand-feel that coffee shops paying $4 to $7 per drink rely on to justify their premium positioning. The tear-off aluminum lid adds an interactive ritual. The “pop” when the seal breaks signals freshness in a way a snap-on plastic lid never can, with a seal force of at least 2.5 kgf ensuring leak-proof transport.
Can cups work brilliantly for cold brew, nitro coffee, craft cocktails, and even unexpected applications like tiramisu or mousse desserts. Customers have driven that last use case themselves, repurposing the cups as premium to-go dessert containers.
Straight-Wall and Classic Tapered Cups — The Versatile Workhorse
Not every brand needs a statement shape. Sometimes the smartest design choice is the cup that gives you the most printable surface area at the best unit economics. Classic straight-wall and tapered cups, available in sizes from 2oz tasting cups to 32oz large-format beverage cups, are the blank canvas of the industry. Their 5–7° taper and smooth, uninterrupted sidewalls maximize the real estate available for logo placement, full-color graphics, and messaging. Wall thicknesses range from 0.3mm for lightweight economy cups to 0.8mm for sturdy premium versions, giving you direct control over the cost-to-quality ratio.
These cups dominate quick-service restaurants, event concessions, and promotional campaigns. Anywhere volume and cost efficiency matter more than shape-driven brand signaling, the design investment goes into the print, not the mold.
Custom-Shape and Specialty Cups — When Standard Isn’t Enough
For brands that need to be unmistakable at a glance, custom mold cups are the ultimate play. Heart-shaped cups for a dessert chain, diamond-faceted tumblers for a cocktail bar, hexagonal cups that mirror a brand logo. These shapes cannot be mistaken for anyone else’s packaging.
The barrier to entry is higher here. Custom injection molds cost anywhere from $2,000 (simple geometry, single cavity, P20 steel rated for 100,000 cycles) to $15,000 or more (complex multi-cavity designs in H13 tool steel rated for 500,000+ cycles). Mold fabrication takes 15 to 30 days. A single-cavity mold produces roughly 2,000 to 3,000 cups per day, enough for a boutique brand but nowhere near the output of a standard multi-cavity production line. The analogy holds: standard cup types are off-the-rack suits (fast, affordable, perfectly serviceable), while custom molds are bespoke tailoring (slower, more expensive, unmistakably yours).
Material Choices That Shape Your Design Possibilities
Material selection is the first constraint your design must work within. Choose wrong, and even the most beautiful concept will fail in the real world. Think of material as the canvas: oil painters don’t reach for watercolor paper.
PET is the dominant choice for cold beverage cups, and for good reason. Its glass-like clarity (≥90% light transmittance) makes it the only material that truly disappears, letting your drink become the visual hero. It’s compliant with FDA 21 CFR 177.1630 and EU 10/2011 standards for food contact — non-negotiable baselines for any brand selling into regulated markets. The trade-off: PET’s heat deflection temperature is only 65–70°C, meaning it will begin to soften and deform with hot fills. It’s a cold-beverage specialist.
PP (polypropylene) trades some clarity for versatility. Semi-transparent and slightly softer-looking than PET, PP can handle temperatures up to 120°C, which makes it microwave-safe and hot-fill capable. If your menu spans iced lattes and hot teas and you want a single cup specification across both, PP is your answer. It also costs slightly less per unit than PET at comparable volumes.
PLA (polylactic acid) is the sustainability play: a bio-based polymer derived from corn starch or sugarcane that’s industrially compostable under EN13432 and ASTM D6400 standards. It looks nearly as clear as PET and carries strong ESG signaling for brands whose customers value environmental positioning. The compromise is practical: PLA’s heat deflection temperature is only 50–55°C (no hot drinks, no hot-run dishwashers), and unit costs run 30–50% higher than conventional PET. It’s the right choice when sustainability is part of your brand story, not just a checkbox.
Recycled PET uses up to 79% less energy than virgin PET production and saves approximately 1.5 tons of CO&sub2; per ton of recycled material (Awen Consulting, 2025).
Plastic Cup Design Trends Shaping the Industry Right Now
Trends are seductive and dangerous to follow blindly. Before adopting any trend covered below, run it through three filters: Does it align with your brand identity? Can your budget and volume support the execution? Do you have (or can you find) a supplier who can deliver it reliably?
Color, Transparency, and Surface Finish — The Visual Language of Cups
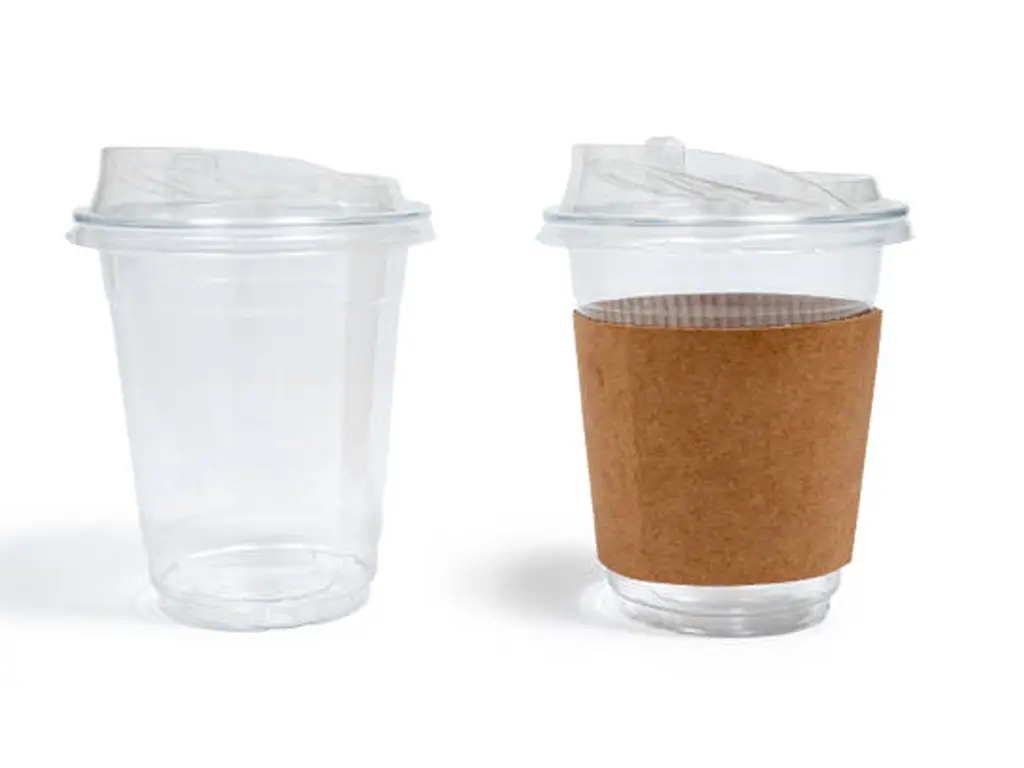
The most immediate design decision after shape is how the cup interacts with light and touch. Crystal-clear PET remains the dominant choice because it performs a unique optical trick: it makes the cup disappear, turning the drink itself into the visual product. In an era where a layered matcha latte or a mango-passionfruit gradient doubles as social media content, transparency is strategy, not neutrality.
When clarity isn’t the goal, texture becomes the differentiator. Frosted and matte finishes — achieved through mold etching to VDI 24–36 texture standards — create a permanent soft-touch effect that reads as premium and hides fingerprints better than gloss. Two-color injection molding, which requires a dual-barrel injection machine and adds 40–70% to mold cost, can produce striking gradient effects from the same family of materials.
On the color front, 2025–2026 is seeing two divergent movements: earthy, muted tones (terracotta, sage, sand) aligned with natural and wellness-positioned brands, and electric neons (hot pink, acid green, cobalt) for brands that want to dominate a crowded shelf or festival grounds. Metallic-effect finishes via cold-foil transfer or metallic masterbatch are rising among premium event and nightlife brands. One insight from global packaging design trend analysis: the most effective color strategy is often restraint. One bold brand color on a transparent or matte body reads as intentional; multicolor overload reads as generic.
Shape Innovation — From Can Cups to Ergonomic Contours
Cup shape innovation is following the same trajectory as mobile phone design: from “functional container” to “object you want to hold.” Can cups, PET cups modeled after aluminum cans, continue their spread from specialty coffee into mainstream quick-service chains and bubble tea franchises. Their heavier wall construction (0.8–1.2mm vs. 0.3–0.5mm on economy cups) makes them the default choice when a brand wants to signal premium without saying a word.
Ergonomic contours are the quieter revolution. Mid-body waist curves that guide fingers into a natural grip position, anti-slip textured bands at the holding zone, and contoured thumb rests were once exclusive to reusable consumer drinkware. Now they are appearing in high-end disposable cups for on-the-go consumption. The manufacturing cost is real: ergonomic features that require sliding mold cores add 15–25% to tooling costs, and the production cycle slows by 8–12% per additional mold action. Brands are deciding the tactile experience is worth it.
The wide-mouth trend is also accelerating. Standard cup rims have historically clustered around 80–90mm; the new generation of “straw-free” cups pushes to 98–120mm openings that let boba pearls, fruit chunks, and ice pass through naturally. This requires matching wide-format sealing film with a minimum 3.0 kgf seal strength. The wider the mouth, the more critical lid compatibility becomes. Mismatched rim-and-lid specifications are among the most common and costly sourcing mistakes in the industry.
Design for Social Media — When Your Cup Becomes Free Advertising
Most industry articles miss a dimension of cup design entirely: every cup you sell is a miniature billboard that your customer carries into the world and, critically, photographs. A GlobalData survey found that over 64% of Gen Z consumers prefer brands with clear sustainability commitments and packaging that looks good in photos (PackNode, 2025). The implication is straightforward: if your cup doesn’t look worth sharing, you’re leaving free impressions on the table.
The practical design implications are concrete. Your logo should sit in the “photography sweet spot”: the upper third of the cup where it remains visible above a customer’s hand in a holding grip. If you print a hashtag or handle, position it where it can be read in a flat-lay photo. UV-cured inks rated for QUV 500-hour outdoor exposure ensure your branding doesn’t fade or smear under condensation — the fastest way to make a premium cup look cheap in photos. Seasonal limited-edition designs, the strategy that turned Starbucks holiday cups into a cultural event, work at every scale when the base cup specification stays consistent and only the surface print rotates.
Your cup is the only part of your brand your customer physically holds. Design it like it matters — because it does.
Principle for every decision in this guide
Custom Printing and Branding — Turning a Cup Into Your Canvas
You’ve chosen a shape, selected a material, and absorbed the trends. Now the practical question: how do you actually get your design onto the cup? Four printing methods dominate the industry, and your choice here determines both your creative ceiling and your unit economics.
Screen printing is the workhorse for bold, simple designs. Mesh screens (120–150 threads per inch for solid color blocks, up to 300 for fine lines) push ink directly onto the cup surface, one color per screen. Setup costs run $30–80 per color for screen fabrication, with per-unit printing costs of $0.01–0.03 per color per cup. It’s ideal for single-color logos on volumes of 500 cups and up: affordable, repeatable, and fast. The limitation: gradients and photographic detail are off the table.
Digital printing opens the creative floodgates. Full-color, photo-realistic artwork prints directly onto cups from as few as 100 units, at $0.03–0.08 per cup. For event-driven brands, seasonal promotions, or any design that needs CMYK color space rather than spot colors, digital is the default. The watch-out: digital inks can appear slightly less saturated on curved transparent surfaces than they do on a flat proof. Always request a physical sample before approving a full run.
In-Mold Labeling (IML) is the premium option. The printed label is placed inside the mold cavity before injection, becoming physically fused into the cup wall during forming. The result is a design that cannot scratch, peel, or fade. It’s part of the cup itself. Minimum order quantities start at 3,000 units, and per-unit costs are the highest of any method. But for a retail CPG brand or a chain where cups will be handled, stacked, and washed repeatedly, IML’s durability justifies the premium.
Heat-transfer printing wraps full-color designs around curved cup surfaces in a single pass. It’s the go-to for 360° branded designs at volumes of 1,000 units and up.
Regardless of method, one rule is universal: the design file must account for the cup’s conical geometry. A flat rectangular artwork will distort when wrapped around a tapered surface; the design needs to be prepared as a fan-shaped template calculated from the cup’s upper and lower circumferences. Always provide vector artwork (.AI, .EPS, or .PDF) in CMYK color mode with fonts converted to outlines. And before you approve any production run: get a physical pre-production sample and check it in the actual lighting and condensation conditions your cups will face. A color that looks perfect on a backlit screen will look different on a curved, translucent cup wall at 80% humidity.
From Design Concept to Finished Cup — Your Step-by-Step Roadmap
Knowing what’s possible is one thing. Knowing what to do, in what order, is another. What follows is a practical workflow built around a single principle: design for manufacturing. A beautiful cup design that can’t be produced at your volume and budget isn’t a design — it’s a sketch. Every decision in the pipeline below should be checked against three questions: Is this moldable? Is this material-appropriate? Has this been physically sampled?
Step 1 — Define Your Design Brief and Brand Requirements
Before any design work begins, write down what you’re solving for. A design brief doesn’t need to be long, but it needs to be specific. Minimum elements: target beverage types (cold brew? milk tea? smoothies?), required capacity range, service model (dine-in, takeaway, delivery, retail shelf), three words that describe your brand personality, budget range per unit, and expected monthly order volume. The tighter your brief, the faster a supplier’s design team can translate your vision into a manufacturable specification. Without a brief, you’re essentially asking a factory to read your mind, which gets expensive, slow, and prone to revision loops.
Step 2 — Choose Materials and Technical Specifications
Now translate your brief into engineering choices. For cold beverages where drink visibility matters, PET is the default. For hot-and-cold menus, PP’s thermal range wins. For brands built on sustainability messaging, PLA or rPET carries the story. Wall thickness is your direct lever on cost and perceived quality: 0.3–0.5mm for economy/tasting applications, 0.5–0.8mm for standard cold beverage service, and 1.0–1.2mm for premium rigid cups. Each 0.1mm of additional wall thickness on a 20oz PET cup adds roughly 1.2–1.8 grams of material per cup and reduces cycle output by approximately 8–12% — small per-unit differences that compound dramatically at scale.
Rim diameter standardization is the detail that saves you from operational chaos: match all your cup sizes to a single rim diameter (e.g., 90mm for 12–20oz, 98mm for 20–24oz) and one lid SKU covers your entire range. This alone eliminates one of the most frequent headaches in multi-size cup programs.
Step 3 — Select Your Printing Method and Prepare Design Files
With material and dimensions locked, choose your printing method using a simple volume-based heuristic: under 500 units and you need full-color → digital; 500–3,000 units with a simple logo → screen printing; over 3,000 units and you want the highest durability → IML; over 1,000 units with a full-wrap design → heat transfer.
Your design file needs to be prepared as a fan-shaped template: the top arc equals π × upper rim diameter, the bottom arc equals π × lower diameter, and the fan-shaped angle is calculated from the cup’s slant height. If this calculation sounds like something you’d rather not do yourself, that’s normal. Most brand owners rely on their manufacturer’s pre-press team for this step. What you should provide: vector artwork (.AI or .EPS), CMYK color values (not RGB), 3mm bleed beyond the print boundary, a 5mm safety margin from all edges, all fonts converted to outlines, and Pantone references for any brand-critical spot colors.
Step 4 — Sampling, Production, and Quality Control
This is where design becomes reality, and that’s where cutting corners costs the most. Sampling isn’t a formality; it’s your last chance to verify every decision made in steps one through three before thousands of units roll off the line.
There are two sampling stages worth distinguishing. A photo sample (3–5 days) gives you a visual check: does the color match? Is the logo position correct? Is the print registration accurate within 1mm? A pre-production sample (7–14 days) comes off the actual production line and answers the harder questions: does the cup stack without jamming? Is the rim round to within 0.5mm deviation? Does the lid actually seal and stay sealed with a full drink inside?
Color accuracy deserves special attention. The industry standard for acceptable color deviation between a sample and production is ΔE ≤ 2.0 on the CIE Lab scale. Anything wider than that, and your brand orange starts looking like someone else’s brand orange. It’s a small number with big brand implications.
For food-contact compliance, verify that your manufacturer provides testing documentation against the relevant regulatory framework for your market: FDA 21 CFR 177.1630 for the U.S., EU 10/2011 for Europe. The best-run factories maintain a 98% or higher production yield rate; below that threshold, process or tooling issues need investigation before you commit to a production run.
For brands working against tight launch timelines, the sampling phase is often the bottleneck. Industry standard lead times for custom cup samples can stretch to two weeks or more, but some manufacturers now offer 48-hour turnaround on samples for straightforward customization, along with free in-house design support to help refine artwork before tooling begins. When evaluating suppliers, ask directly about sample turnaround times and whether design assistance is included. These two factors alone can compress a project timeline by weeks. If you’re ready to discuss your cup specifications with a manufacturer, contact their design team for a free consultation.
Choosing the Right Cup Design for Your Business Type
All the options above — cup types, materials, trends, printing methods — converge on one question: what’s right for your business? The answer depends less on what’s popular and more on how your specific operation interacts with its customers. The table below maps six common business profiles to their optimal cup design parameters.
| Business Type | Recommended Cup | Key Design Priority | Material | Volume | Pro Tip |
|---|---|---|---|---|---|
| Bubble Tea / Boba Shop | U-Shape PET | Drink-layer visibility + dome lid compatibility | PET | 500–700ml | Standardize one rim diameter across all sizes — one lid fits everything |
| Premium Café / Coffee Shop | Can Cup or High-Clarity Straight | Tactile premium feel + Instagram-ready presentation | PET (high grammage) | 12–16oz | Tear-off lids add an interactive opening ritual customers remember |
| Juice / Smoothie Bar | Straight-Wall Wide Mouth | Straw-free accessibility + pulp visibility | PET or PP | 16–24oz | Wide mouth (≥98mm) passes thick blends without a spoon |
| Event / Festival / Catering | Classic Tapered | Bold branding at scale + cost efficiency | PP | 12–16oz | One strong color on a simple cup body prints best at volume |
| Retail / CPG Brand | Custom Shape or U-Shape | Shelf differentiation + lasting brand recognition | PET or PLA (if ESG positioned) | 12–20oz | IML printing for retail-grade scratch resistance |
| Restaurant / QSR Chain | Classic Straight-Wall | Stackability + lid compatibility across SKUs | PP (hot + cold) | 12–32oz | Multi-size uniform branding — one brand look at every drink size |
The logic tying this table together is simple: there’s no single “best” cup design, only the design that best fits your brand’s position in the market and the way your customer experiences your product. A bubble tea brand optimizing for social media visibility makes different choices than a festival vendor optimizing for cost per thousand impressions. Both are correct for their context.
For businesses managing multiple cup sizes across complex menus, working with a manufacturer that can supply cups, lids, sealing machines, and accessories from a single source simplifies procurement and ensures compatibility across every SKU. With over 17 years in plastic packaging manufacturing and global shipping coverage, OUTSTANDING Packaging offers one-stop sourcing backed by free design support, from initial concept to finished cup. Request a quote with your cup specifications to compare options against your current supplier.
References
- Research and Markets. “Plastic Cups Market Size Analysis Report — Market Share, Forecast Trends and Outlook (2025–2034).” 2025. researchandmarkets.com
- Awen Consulting. “What You Should Know About Using Recycled PET (rPET).” 2025. awenconsulting.com
- U.S. Food and Drug Administration. “21 CFR § 177.1630 — Polyethylene Phthalate Polymers.” ecfr.gov
- PackNode. “Redefining Sustainable Packaging: The Rise of Custom PET Plastic Cups in Foodservice.” 2025. packnode.org